Making a prototype OpenTherm thermostat
Introduction
Recently me and wife became proud owners of a suburban home. We were both born and raised in a big city, so owning a house where you are responsible for your own heating system is a new challenge for both of us. I've dabbled in the field of IoT and smart home in the past, but it was mostly using Shelly smart relays and dimmers to control lights and electric outlets. But here in our new home we have an assortment of heating systems and devices:
- A Buderus Logamax U072 boiler running on natural gas, which can alternate between central heating and indirect water heater.
- A Stout indirect water heater that heats up and stores domestic hot water.
- A system of wall-mounted radiators in each room.
- A system of heated floors throughout the entire house.
Gas boilers such as ours are very popular in Russia, but most of them don't come equipped with any smart or remote control features. For example, the most sophisticated thermostat from Buderus that you can use with our boiler is this:
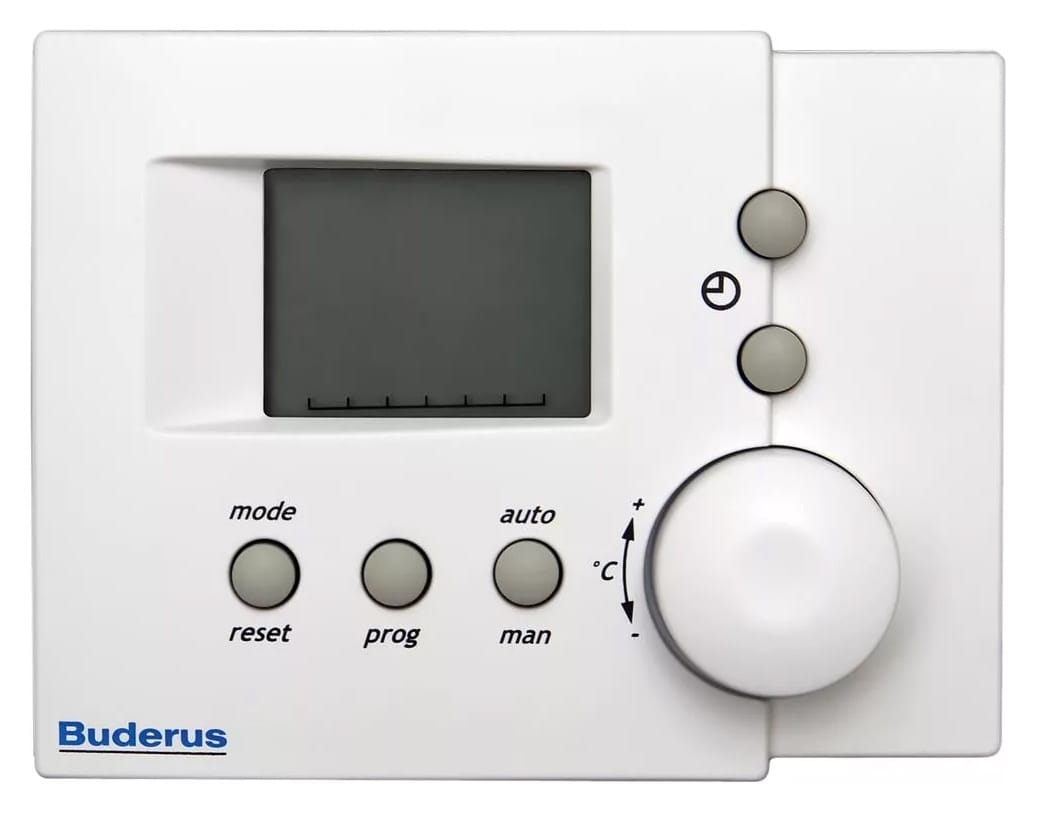
It's a bit underwhelming, to say the least. Granted, you can even „program” it for different temperatures based on time of day and day of week, but this is not what I was looking for in 2023.
There are also more sophisticated systems from other vendors on the market, and they promise all the good stuff, at least on paper: mobile apps, cloud access, reporting, alerts and so on. But these are all cloud based services which are vendor-locked and closed-source, so I'm a bit reluctant to build critical and generally hard to replace infrastructure with a service that can be breached or simply go out of business. You can argue that a DIY solution is even less reliable in this regard, but at least I will know exactly how my infrastructure is built and what points of failure it has.
Collecting the requirements
So, as you might've guessed, I decided to roll my own thing 😄 First of all, I collected some requirements of what my future system might look like:
- I want to run everything through Home Assistant. In my opinion, this is a great project and not much else can compete with HA on features and device support right now.
- I'd like to have a traditional thermostat device with basic functions, like setting target temperatures for central heating and domestic hot water. It's important that this device retains basic functionality even if all other infrastructure fails: it should be able to work without Home Assistant, and even without Wi-Fi. But when HA is functioning, thermostat should enable fine-grained temperature control and other features.
- Ideally, I would like to control the temperature in every room separately by using smart TRVs on each wall-mounted heater.
- The same goes for heated floors: I would like to set target temperatures room-by-room. For example, during summer I would like to keep most floors cool, but still be able to enjoy warm floors in the bathroom.
- I would like to digitise and monitor as many system parameters as possible: temperatures, pressures and so on.
- I should be able to build this system incrementally. I started planning this project in August 2023, and by October I needed heating to work in its most basic form, so that the house wouldn't freeze.
Choosing the hardware and libraries
Quick googling around showed that our boiler supports OpenTherm protocol. This is good in a way that this standard is documented and there are several open-source libraries available. The not so great part is that a hardware bridge is required, since boiler operates in a 0-18 V range, and you can't just plop a microcontroller on top of it.
So I googled some more and settled on the following setup:
- ESPHome as a framework for thermostat firmware. It is actively maintained and has super tight integration with Home Assistant, so for me it was the most logical choice.
- Some variation of ESP32 SoC. Partly because it's a requirement from ESPHome, and partly because having Wi-Fi, Bluetooth and a ton of computing power in such a tiny package is just mind-blowing for a guy whose last encounter with electronics was tinkering with ATMega chips in 2009.
- OpenTherm component for ESPHome. This is the most complicated part which led me to a series of deep rabbit holes 😄 There are several OpenTherm libraries for ESPHome, but none of them were of release quality (at least at the time of writing). This is one looked like most mature, but unfortunately, the original version doesn't seem to be actively maintained. I chose this library knowing full well that I might end up supporting my own fork until the end of times.
- Ihor Melnik's OpenTherm adapter schematics. There are several other schematics and readily available adapters, but I decided to go with this one, because it seemed the easiest to prototype and then extend to support additional features.
Soldering the first prototype
Without further ado, I ordered an assortment of components and got to soldering. Considering the fact that I did any soldering almost 15 years ago and I wasn't a virtuoso even back then, I was pretty satisfied with the result:

In order to constrain the scope of the prototype, and test this on real hardware as soon as possible, I decided to postpone the ESPHome part and flashed this project to a ESP32 dev board using Arduino IDE:
 diyless
I rigged it all up with my boiler and a test Wi-Fi router, and it worked!
It's hard to describe the satisfaction of controlling some form of machinery in a physical world, since most of my projects are pure software 😄 Satisfied with this success, I set out to create a second version of this prototype, this time with ESPHome support. Stay tuned for more posts!